The laptop in use is my Asus F3K, and I believe this makes the first time I've used it for a guide. The access point in use is a Linksys WAP54G, which thanks to some donations replaced the awful Trendnet access point I had before. So yes, if you donated, thank you, that paid for a better wireless access point that actually will actually transfer data... not halt it.
There are two ways to handle wireless connections under Mepis 7. So lets get started.
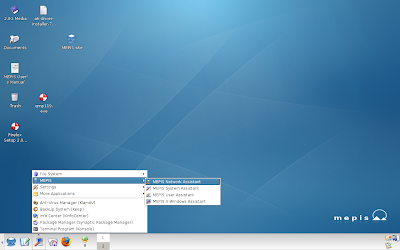
1: Standard desktop, and you might note there are only 3 icons in the lower right hand corner.

2: Okay, lets open up the Mepis Network Assistant
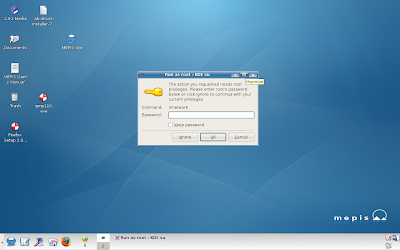
3: Input the root password.
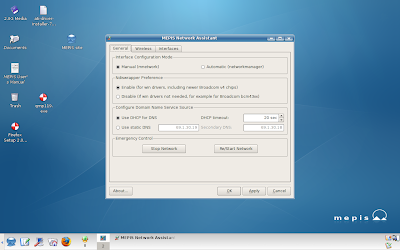
4: Here on the General tab we can see that Mepis 7 defaults to Manual(mnetwork)
5: The interface tab shows that an Ath0 adapter has been detected, which means Mepis thinks this laptop is using an Atheros network adapter.
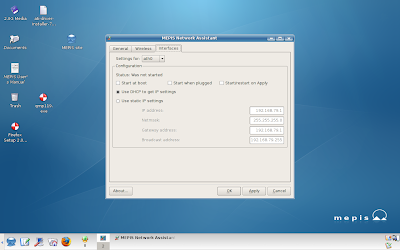
6: As usual Mepis's hardware detection is superb. This is an Atheros Network adapter.
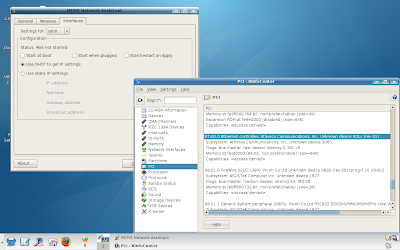
7: The advantage of using the Mepis Assistant is that you can have the connection start on system boot.
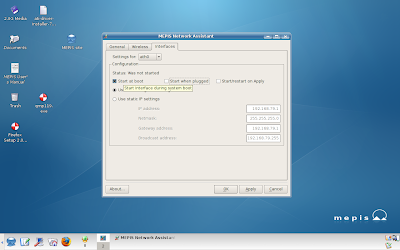
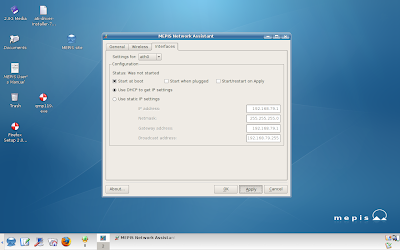
8: Apply the changes to start at boot...
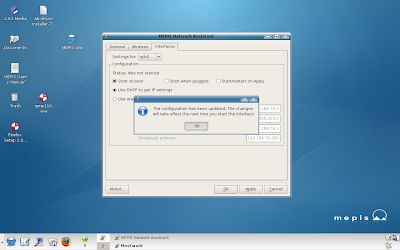
9: Left click Ok to clear the window.
10: On the Wireless tab we can set our login information.
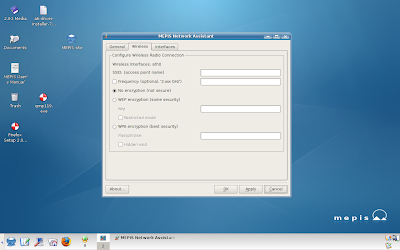
11: With the Mepis Assistant all the information will need to be entered manually, such as the SSID...
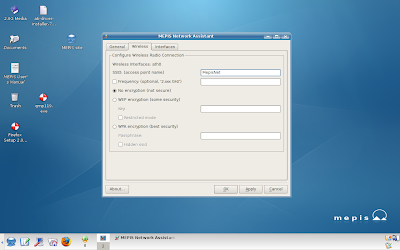
12: And the keys will need to be entered manually. I'm using WEP for a reason, and we'll go into that later.
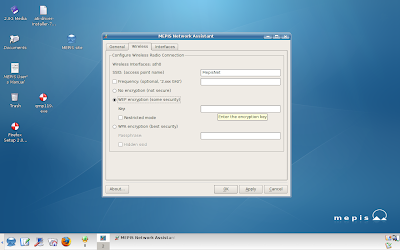
13: With my WEP key entered, a left click to Apply.
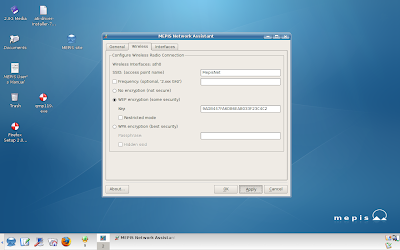
14: Left Click OK to clear the warning...
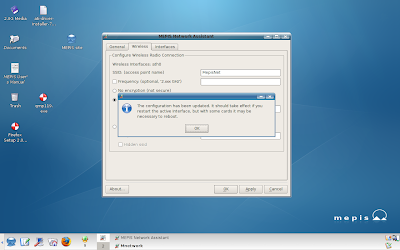
15: Another left click on OK to close out...
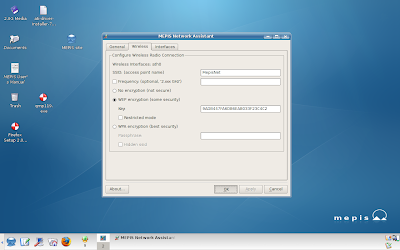
16: And lets reboot with our network set to connect on boot....
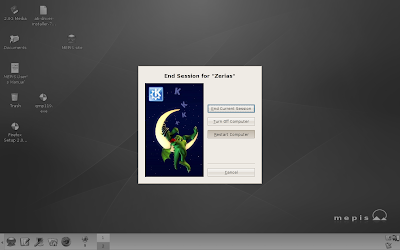
17: Back up, and... we find that Mepis has not connected.
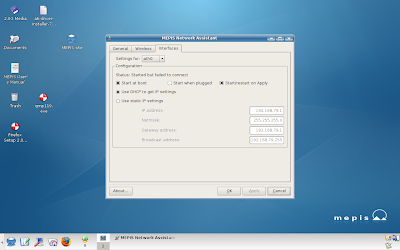
Okay, so lets take a moment to review. I know I have a good wireless access point. I know it works because my Nintendo Wii connects fine. I know my DS connects fine. But... with the manual setting, Mepis 7 was not able to connect, although it identified the hardware.
In addition, the manual setting isn't exactly userfriendly if you need to connect to multiple networks. If you are out and about, say at Taco Bell, an airport, or hotel, it's going to be a right pain reconfiguring Mepis 7. Surely there is a better way?
There is. Lets meet up with the KnetworkManager
18: Back on the General Tab there should be a tab for Automatic (networkmanager)
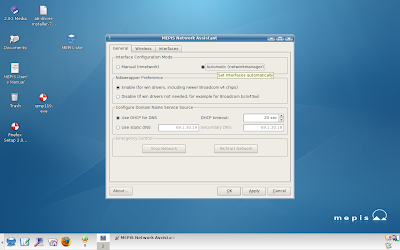
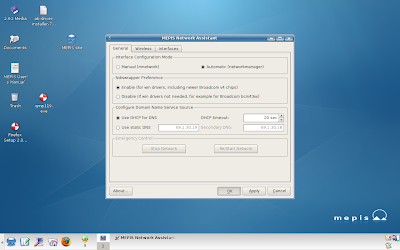
19: With Automatic selected, left click on Ok.
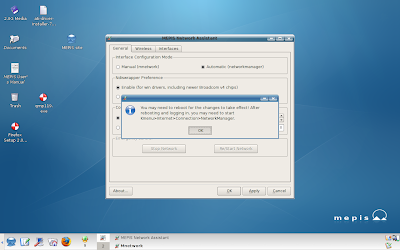
20: Left Click on OK to clear the warning.
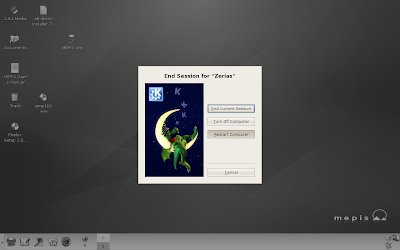
21: Restart the computer.
22: Once the computer starts back up, head to Internet in the Kmenu.
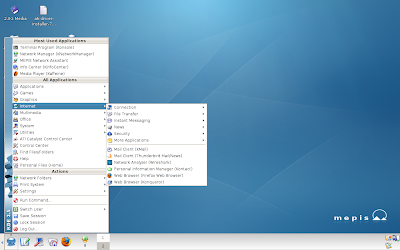
23: Select Network Manager with a Left Click.
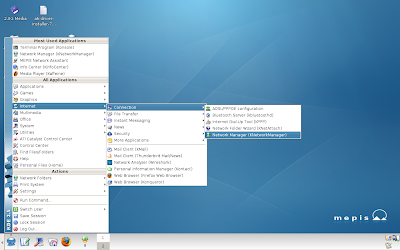
24: Now there should be a forth icon in the lower right hand corner.

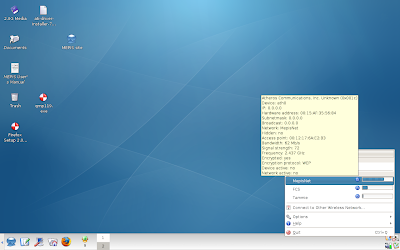
25: Right clicking on the icon brings up a list of all available wireless networks.
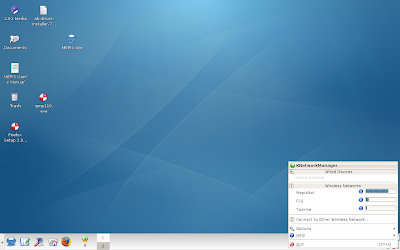
As we can see, the SSID I entered earlier, MepisNet, is displayed. You might also notice other networks, both with extremely low signal levels. Here's the reality about wireless connection: distance matters. Yes, I can see other networks. Can I connect to them? No. And yes, FCS is related to another project I am involved with, you might have seen it before with the Unreal Tournament guides.
26: As you mouse over a wireless network, you'll notice a pop-up that gives pertinent information about the connection, such as the frequency, the network bandwith, and whether or not the network is encrypted.
Just select the desired network with a left click.
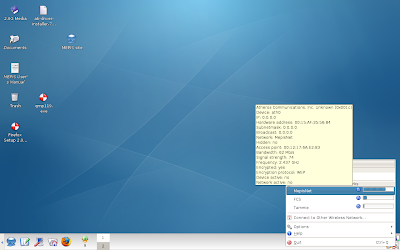
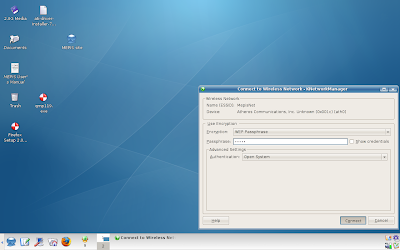
27: On an encrypted network, like the one I've set up, Knetworkmanager will pop up a box asking for the encryption key.
With the manual setting in the Mepis Assistant, the binary string needs to be entered.
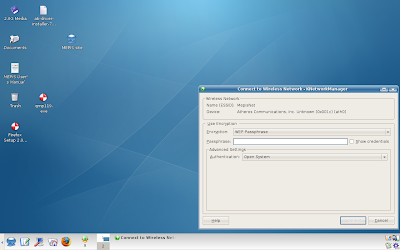
28: Here? Just enter the pass-phrase for the network.
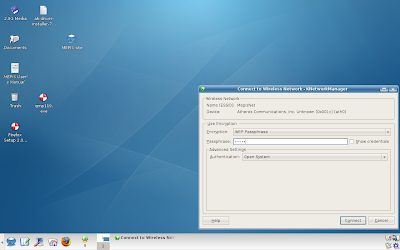
29: Rather simple just to put in the easy to remember text, although using guide is a bit tacky.
Then again... when have I not been tacky?
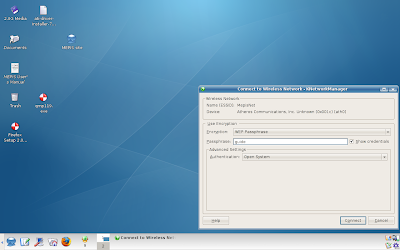
30: With the passkey entered, just Left Click on Connect.
31: At this point there should be a pop-up showing the connection state.

32: If the connection is successful, a Knemo icon should appear in the lower right hand corner.

33: Right Clicking on the knetworkmanager now shows that MepisNet is connected.
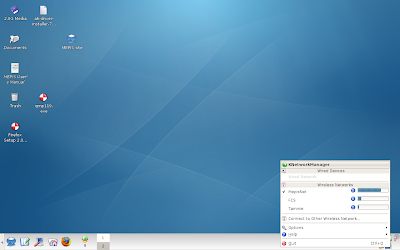
34: Lets work on on making Knetworkmanager a little quicker to start.
Mouse over options and then left click on Configure
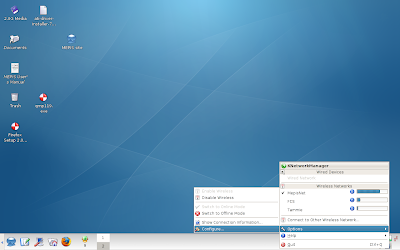
35: One of the very first options is to start Knetworkmanager on boot.
Left Click on the check box to select the option.
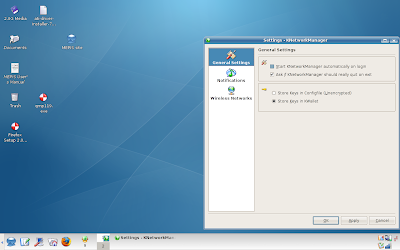
36: Then Left Click on Apply or Okay...
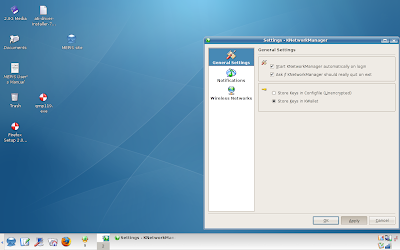
37: The restart the computer.
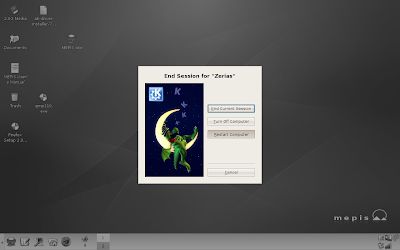
38: On restart we can see that the Knetworkmanager icon has loaded in the lower right hand corner.

39: So, same steps as before. Left Click on the desired network...
40: Here we can see that our password was saved, so left click on connect.
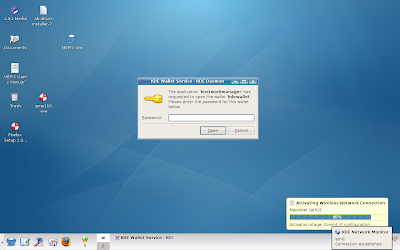
41: This time, as the network hits 85%, and the connection is established, kwallet pops up.
42: Now, I'm not going to say whether or not you have to use Kwallet to store the password. Your choice.
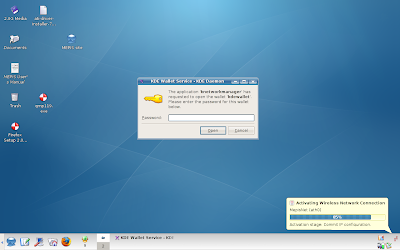
If you do use kwallet to store your connection data, you'll have to input your kwallet password everytime the system starts up to connect. If you do not use kwallet, you'll need to enter in your encryption key everytime you want to connect. In doing this I discovered a possible bug that is difficult to address.
Kwallet saves the login information in the order that its entered. Lets use FCS as the example. I set up FCS first, and I instructed kwallet to save the FCS encryption key first. Everytime the laptop started up, kwallet defaulted to the FCS encryption key. When I setup the MepisNet SSID for this guide, kwallet still forced a connection to the FCS network.
In order to get kwallet to default to the MepisNet connection, I had to go in and manually delete the FCS key. Something to keep in mind if you change connections a lot.
43: Anyways, we are successfully connected.

44: So lets restart and see how this works out.
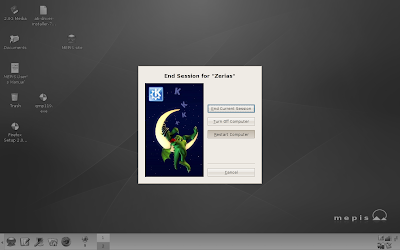
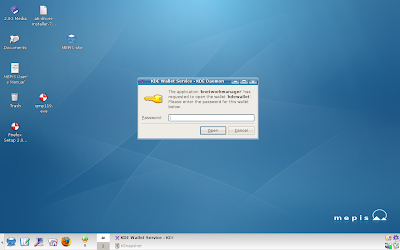
45: On login Kwallet has popped up and is asking me to enter the password...
46: As the system connects, we should see a purple gear turning in the lower right hand corner.

47: And without any additional input, we are connected.

Alright, so that's Mepis 7 with a WEP key. Is the process as simple with a WPA key? Lets find out.
I went back into the router and changed the encryption type from WEP to WPA, and set a new passcode since the previous code, guide, was too short.
48: Okay, now the MepisNet connection is showing an encryption of WPA.
Left Click to the desired network
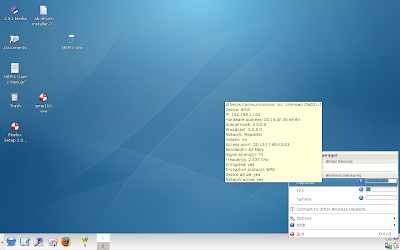
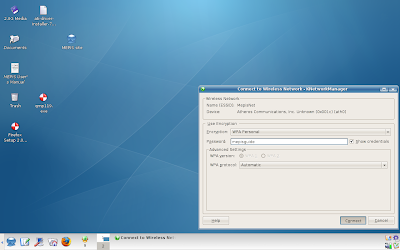
49: As with the WEP connection, we have a connection box.
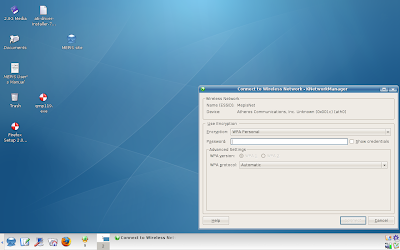
50: enter the pass key...
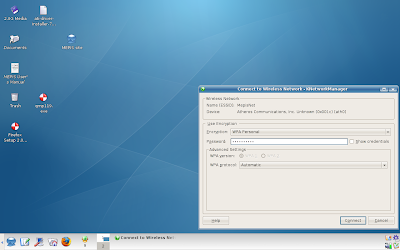
51: Which in this case is mepisguide
52: wait for the connection...

53: deal with kwallet...
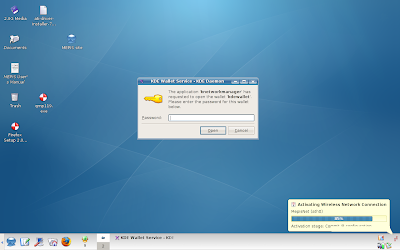
54: connected with WPA.

So, there we go. I hope that's fairly complete on how to connect to wireless with Mepis 7.
7 comments:
Very nice guide, but I have a Belkin wireless card that requires ndiswrapper to work. Knetworkmanager does recognize my device and Mepis Network Assistant doesn't activate my card on reboot even though box is checked. Any suggestions?
might want to read this thread here : http://www.mepislovers.org/forums/showthread.php?t=14690
Mepnoob goes over some things that might help.
Basically, I can only guide what I have on hand to work with, which limits that which I can properly document. If I come across a a wireless card that requires ndiswrapper, then it will get covered.
I will leave a detailed step by step on how to set up ndiswrapper at mepislovers forum this weekend. I have done it several times with two types of cards that have the realtek 8185 chip. Realtek and Airlink. They work pretty well with ndiswrapper and 7.0 . The install of a windows driver with ndiswrapper is simple once you've done it a few times.The rest is easy thanks to Saist's wireless walk through.
The realtek 8185 based chipset wireless lan cards also work well with sidux, kanotix, knoppix, dsl, kubuntu 8 with kde4 and probably all linux might work with the 8185 using these steps.
Pclinuxos 2007 is in a class of it's own auto-configuring the 8185 chipset cards while in the live cd environment.
Mepnoob2005
Hi all. I placed the ndiswrapper step by step at mepislovers.org
This is the link.
http://mepislovers.org/forums/showthread.php?p=116431#post116431
I also put a page in the MEPIS wiki. This is the link to that one.
http://www.mepis.org/docs/en/index.php/Ndiswrapper
Hi again. Just copy and paste the above links into your main browser address bar.
btw, if you are leaving links in the "comments" section, use the "< a >" and "< /a >" tags to activate the links. Without the extra spaces of course.
And thank you Kerry.
This is awesome!I set MepisNetworkAsst. to automatic and setup Knetworkmanager and all went well following your guide.This after having to blacklist the generic bcm43xx driver at boot as it was conflicting with Ndiswrapper and the HP Windows drivers for my laptop's built in wireless.Again,Thank you greatly!
Post a Comment