1: We want to start http://www.steampowered.com
Left Click on Get Steam Now in the Left Hand Bar
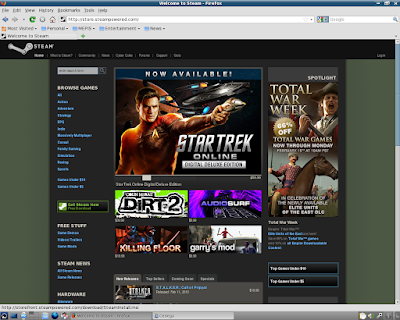
2: FireFox will want to save the file.
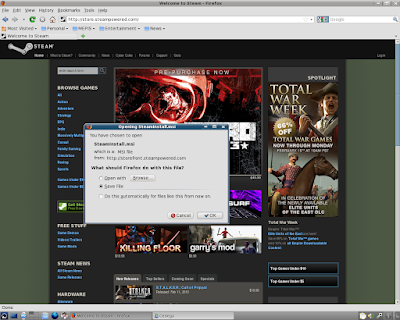
3: Lets check our download folder and make sure that SteamInstall.msi is there.
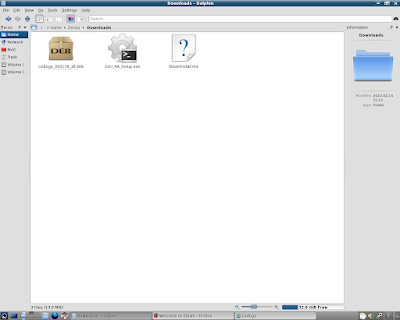
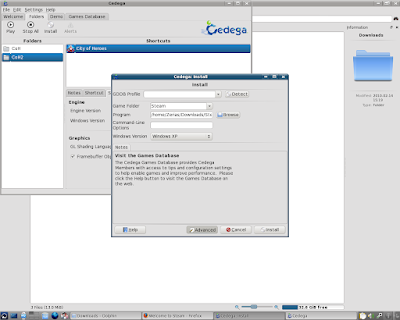
4: Okay, lets go over to Cedega and Left Click on Install.
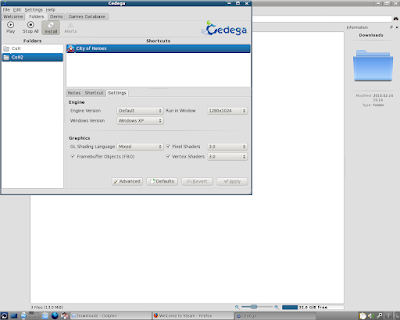
5: First thing we need to do is check our Game Folder
Currently it says CoH2
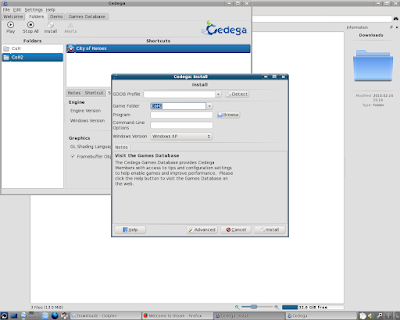
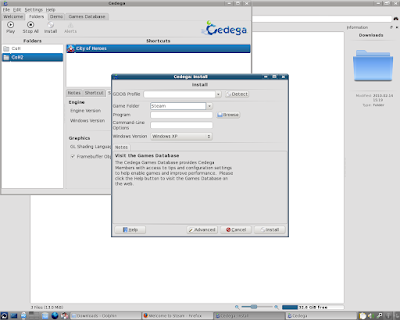
6: We need to rename the Game Folder.
Here I've renamed it to Steam.
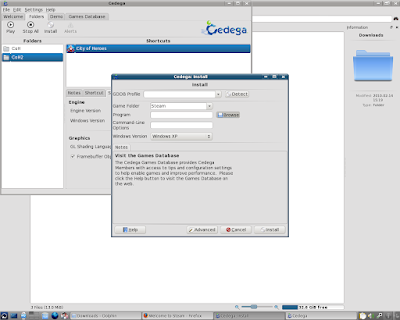
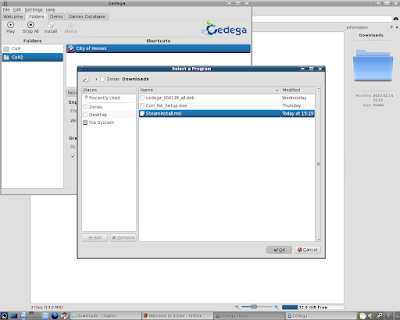
7: Now Left Click on Browse.
8: As always, Cedega starts with the CD/DVD drive.
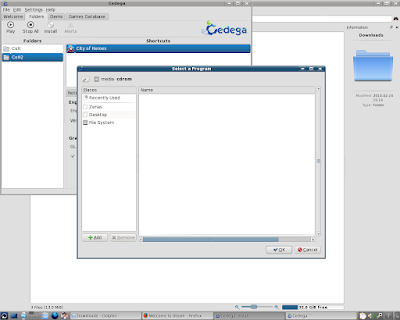
9: Navigate to the download folder
Left Click on SteamInstall.msi
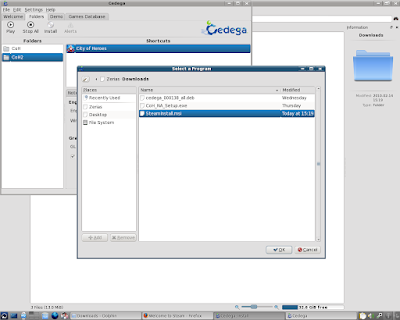
10: Left Click on OK.
11: Like most game installs, we really want to be in a windowed mode.
Left Click on Advanced.
12: Left Click in the Drop Box for Run In Window and select a resolution.
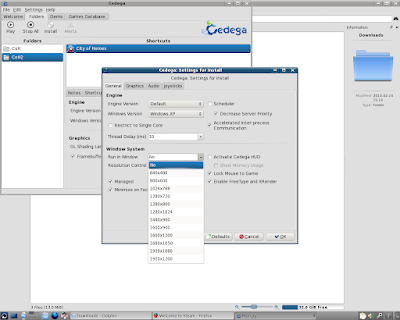
13: Since 1280*1024 is my desktop resolution, that's what I used.
Left Click on OK.
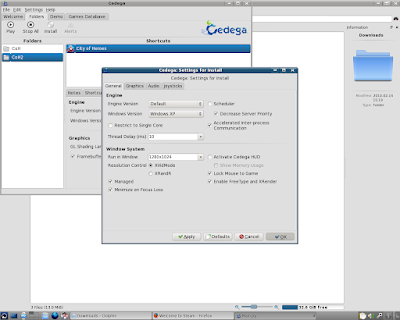
14: We should now be ready to Left Click on Install.
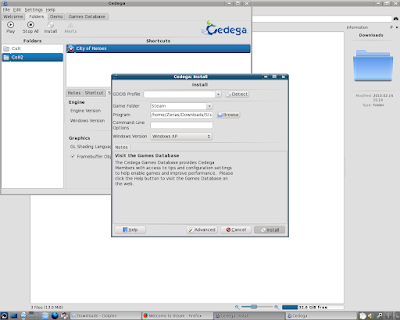
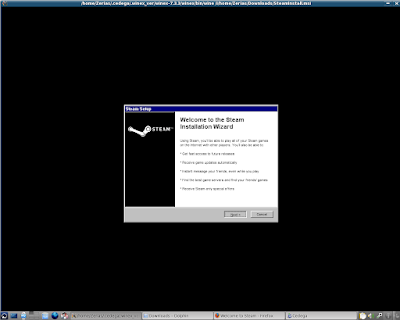
15: We should now be in the Steam Installer.
Left Click on Next.
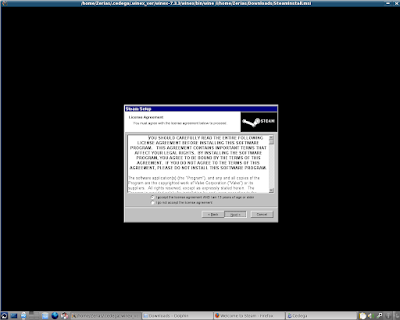
16: Remember, Steam is Licensed Software. You will need to agree to Steam's licenses to use the software.
If you agree, select I agree, then Left Click on Next.
17: Steam will now ask for the approximate network speed.
Select your average download speed, then Left Click on Next.
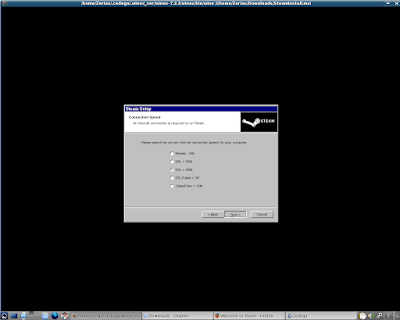
18: Don't worry too much about the graphical glitches.
Unless you need to select something other than English, on Left Click on Next.
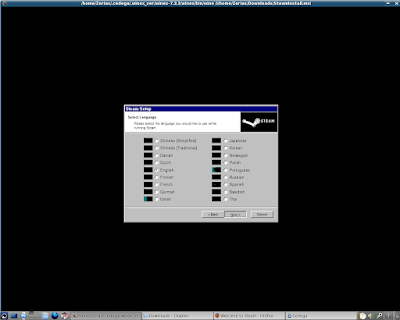
19: Left Click on Next to start the install process.
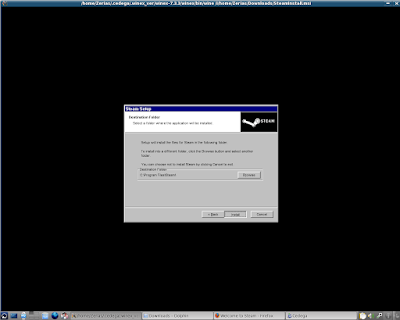
20: Depending on the speed of your computer, the install could take a few moments.
On Intel's I7 in use here, the Ksnapshot application didn't even have a chance to reload.
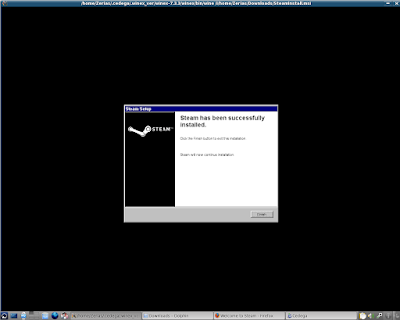
21: Left Click on Finish.
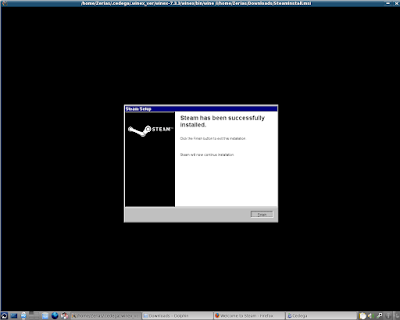
22: Don't... worry too much about any graphical corruption here. If Steam works correctly, it will shut off automatically.
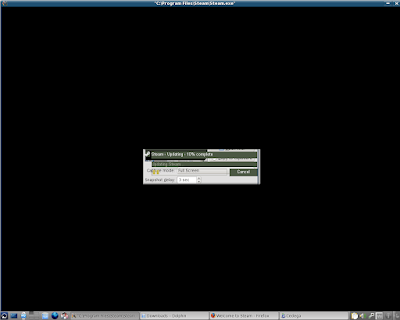
23: Unfortunately, or fortunately depending on your point of view, Cedega and WINE generally do not allow programs to automatically restart themselves. So we'll need to launch Steam manually to complete the installation.
From this point, we shouldn't need to worry about running in a windowed mode either, unless we are installing software that requires additional pop-ups.
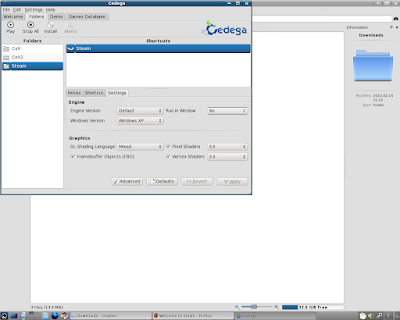
24: Left Click on Play.
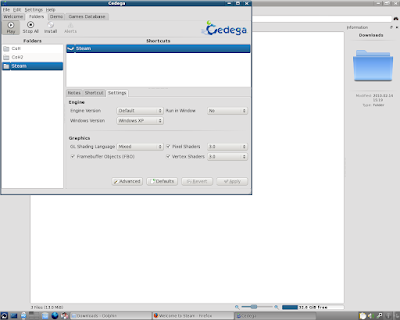
25: Now the Steam updater shows without graphical glitches.
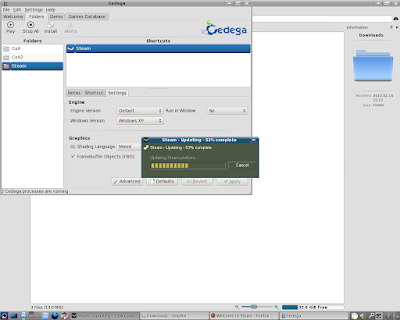
26: Eventually Steam will either ask you to either or Create an Account or Login to an Existing Account.
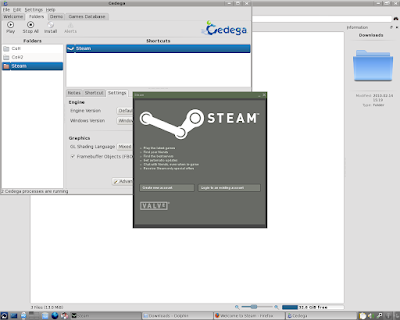
27: Since I already have a Steam Account, I just need to login.
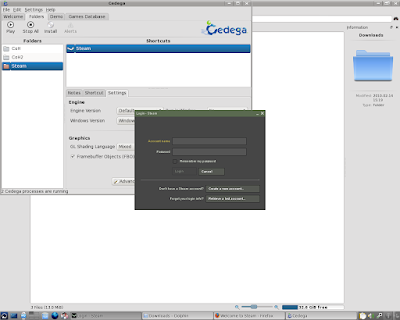
28: Don't be surprised if Steam goes through another update after logging in.
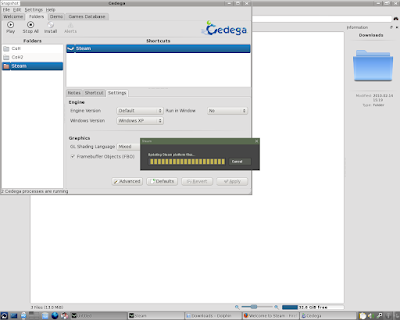
29: Steam is now loaded...
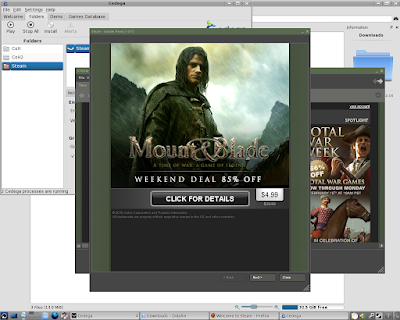
30: and you should be able to access your game files.
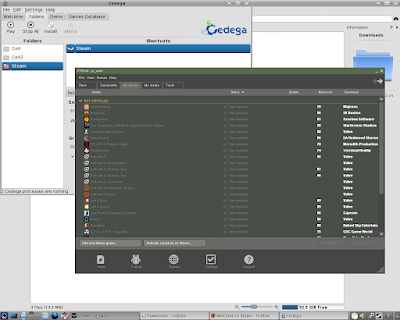
As an ending note, do keep in mind that you can generally install and view games in the Steam Browser that don't actually work under Cedega or WINE. So just because you have a game on Steam doesn't automagically mean it will work.
***
As a special note, I do need to extend thanks to Intel. The processor used for this guide system is one of their I7 Engineering Samples.
No comments:
Post a Comment