Alright, here we go yet again back into the world of Tabula Rasa. Like the last walkthrough, we are again hooking up with Z. Mainly because she's high enough level to solo Control Points found in the Wildneress, which is where players will first encounter the field Control Points.
Control Points should be familiar to anybody who has played Planetside. Players most remove an opposing force from the base, then capture the base for their side. Like the bases and towers in Planetside, Control Points in Tabula Rasa can be used to respawn, reload, as well as serve as points of travel to move around a zone.
If you complete the training segment of Tabula Rasa, you'll be taken through a mock Control Point assault. However the assault is aided by the cannons and shield wall being susceptible to a single detonator charge, which players will never run into out in the real game. There are several other twists that the in-game training does not cover.
We find Z hanging around the Memory Tree in Wilderness - 1. Just wondering, but do you know enough of the Logos Language to translate what the Tree says?

Z checks her map and finds that both Control Points in the Wilderness currently belong to the AFS, her side.

Z decides to head over and check the Landing Zone Outpost. Seems fairly calm.

Scratch that, a metric ton of Bane are incoming.
At Z's level there is a catch here that isn't immediately noticed. All of these bane are far below her level. However, if you are in the Wilderness at a Wilderness appropriate level, you'll find that the Control Points are assaulted by Bane that anywhere from 2 to 4 levels over the Zone average.

Since Z is the only AFS elite soldier hanging around, looks like it's up to her to fight the Bane back.

Most control points signify the end of an assault by friendly NPC units dropping in and helping to wipe up remaining Bane forces. Here we can see that despite Z's best efforts, the Bane did manage to drop the shield on the front of the control point.

Okay, the shield is back up, the Control Point is safe.

Oh dear. Z has switched to Wilderness - 3 where the Bane have control of both Landing Zone Outpost and Imperial Valley control points.

Z heads to the hostile Landing Zone Outpost.

If you are attempting to take down a Control Point while at a zone appropriate level, it's a good idea to start taking out the turrets that guard a Control Point.

With the turret down, Z can now turn her attention to the rest of the battle. As you can see though, standing still is just inviting trouble. Had Z been at a zone appropriate level, that big ugly purple thing would have her for lunch.

Z's now going after the shield for the Control Point.

The best way to take a shield down is to EMP weapons. Since Z is a Demolitionist, her choice of EMP weapons is largely limited to EMP shotguns, EMP rifles, EMP Pistols... and EMP bombs.
Trust me on this. For Control Point offensives, stock up on EMP bombs.

Shield is down, and Z is into the courtyard.

Courtyard is clear, time to recap the base.

You probably did this part in the Basic Training segment, so you know how to click on the Control Point tower.

What you may not be aware of is that just because the courtyard is clear, does not mean that the Bane won't show up again. Z's been interrupted by some Bane that just dropped in.

Once Z has cleared out the Control Point again, she completes the capture.

Once a Control Point is recaptured, the front shield immediatly comes up. A quick look at Z's radar shows that multiple friendly units are now on the scene to help finish wiping up any leftover Bane.

A check of the map shows the Control Point is now controlled by the AFS... but there still is one more in the paws of the Bane. A soldiers work is never done.

A couple notes for the end of this. First, I was planning to do a crafting walkthrough. Seems I got beat to it: http://www.rgtr.com/community/community_news/crafting_101.html
I'll probably still run mine anyways, just for the fun of it.
Second : if you came from here : http://www.rgtr.com/community/community_news/weekend_wrapup_2252008.html
welcome. And a very hearty Moo to you.
In Debt Penalty and Repair I went over the damage to weapons after dying. Now I'm going to go deeper into Weapon Maintenance. Unfortunately Zed Blogspot is only level 5 and doesn't have that wide a range of weapons to chose from. For this walkthrough then I am using one of my play characters, hereafter referred to as Z.
Because this play account is the same that I used to out the trolls a few posts ago the name of my avatar has been blanked out as at least one of the trolls has been witnessed logging into the game while in the process of writing this walkthrough.
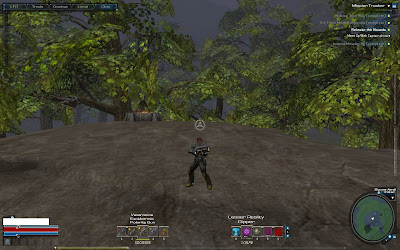
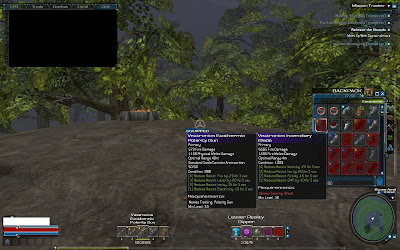
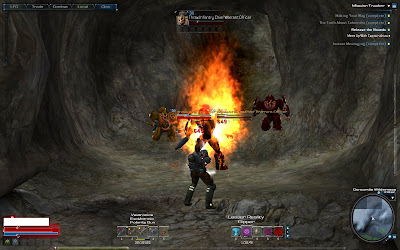
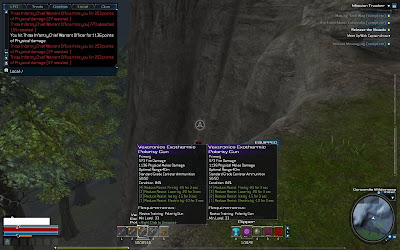
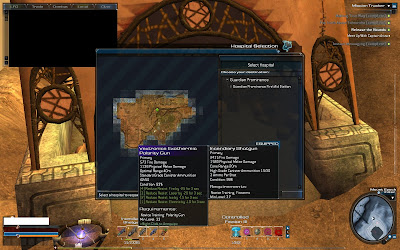
Lets start by running over the basics of weapon usages. As we can see here Z is holding an Exothermic Polarity Gun. Basically this thing shoots a stream of plasma that melts most enemies in it's path, but not all as we will witness later.
Using the forward stroke to bring up the chat window I can use the mouse to move over and view the properties of my weapon. The properties tell me the current amount of damage my weapon produces, the type of damage my weapon produces, as well as the range at which full damage is dealt on the target. In the case of this polarity gun, any target out to 40 meters gets the full damage.
The properties also list what type of ammunition the weapon uses, as well as the weapon condition. The weapon condition does affect weapon power. Too much damage to the weapon, and the weapon stats will go down.
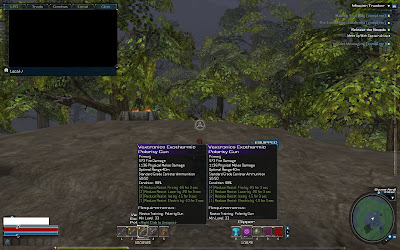
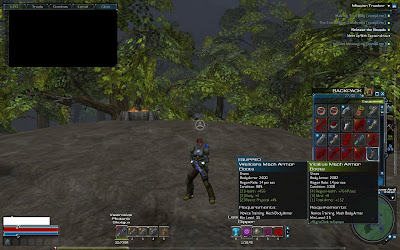
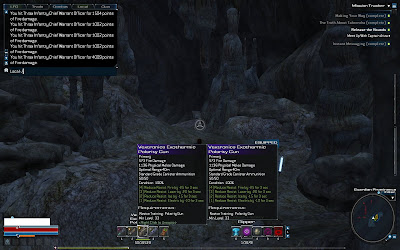
Moving the mouse over a non-equipped weapon not only displays the non-equipped weapon, but also the currently equipped weapon, allowing for easy comparison of weapon statistics.
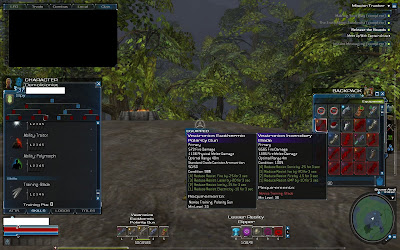
Lets go ahead and open up the backpack. Items that are colored red are unable to be equipped by the avatar. Items that can be equipped are clear icons.
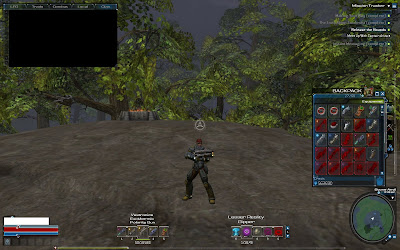
Mousing over an item that cannot be equipped and the missing requirements are listed at the bottom of the item information. In the case of this Incendiary Blade the missing requirement is Novice Training: Blade.
A quick check of the training requirements reveals that I would need to be a Spy in order to use a Blade.
In the case of this Salvage Tool I would need pumps in Engineering: Photonics.
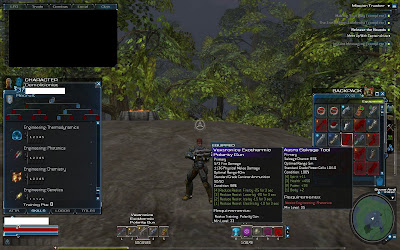
For this Polarity Gun I just need another level.
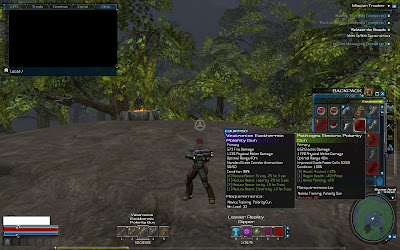
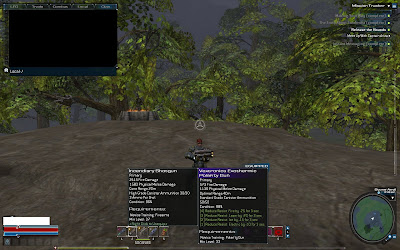
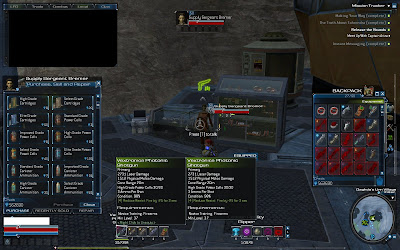
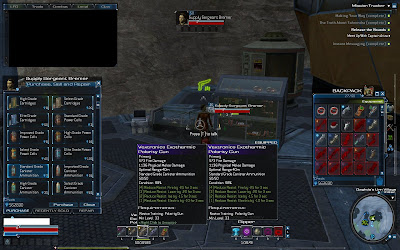
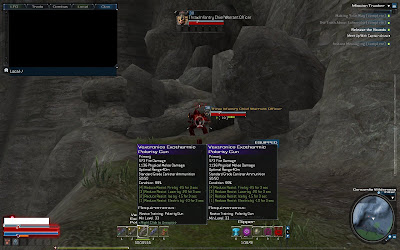
As mentioned the weapon pop-ups can be used to compare weapon stats. Here we have two photonic shotguns. A difference of a mere 5 levels translates into just about 1000 points of damage between the level 32 and level 37 shotguns.
We can also see that these weapons use different grades of ammunition. The level 37 weapon uses High Grade ammunition, while the level 32 weapon uses Improved Grade ammunition.

Weapons and Equipment are also separated by color grade. Items with no color coding are the baseline equipment. Green items are slightly better. Blue items are better than green. Purple items are better than blue items. The higher grade a weapon has affects statistics like how fast the weapon deteriorates, or how fast the weapon overheats. Purple weapons will overheat less than Blue weapons and retain firing condition over a larger amount of fired ammunition.
Here we can see the defense difference between blue and green mech boots of the same level. The Blue boots have almost 320 more points than the green boots.
Alright, lets go back to the topic of Ammunition. Z has headed over to a nearby supply sergeant.
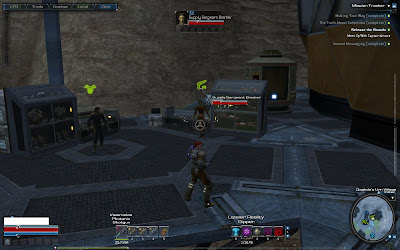
Again, this Photonic Shotgun only uses High Grade Power Cells.
The vendor sells 5 different types of ammunition. Standard, Improved, High, Select, and Elite. However, only the High Grade ammunition will work. None of the other grades will work in this gun.
Basically, don't buy higher grade ammunition until you have a weapon that uses the higher grade.
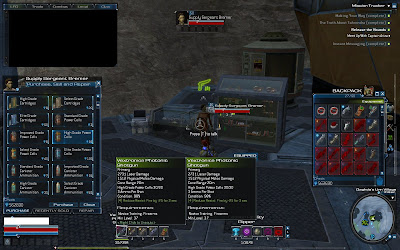
Here we can see that the Exothermic Polarity Gun will only accept Standard Grade ammunition.
Okay, lets go into ammunition cost. The High Grade ammunition the Photonic Shotgun Z is using costs 16 credits. Since the Photonic Shotgun fires 3 shots with each blast, each press of the trigger costs 48 credits.
So lets go out and kill a Bane.
This low level bane only drops 40 credits. Basically, the ammunition cost for this weapon is higher than the return for a successful kill in this zone.
In other words, watch what weapon is being used against enemies. Sometimes it's a good idea to have a lower classed weapon around when going through a lower-level zone.
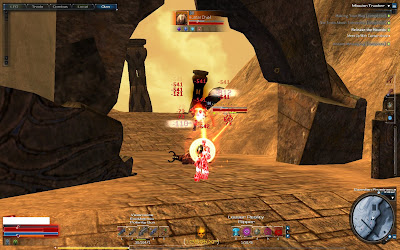
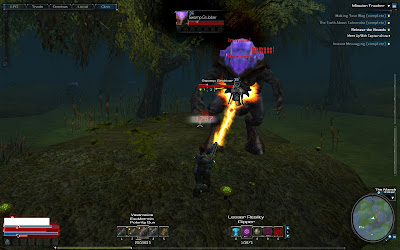
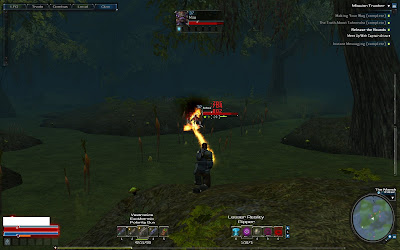
Alright, lets go find some Bane that are within Z's level range. Guardian Prominence is a higher level zone that can be reached from Wilderness. Outside of the instance we find some higher level Bane.
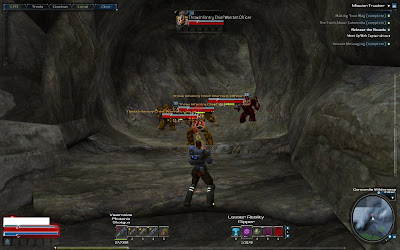
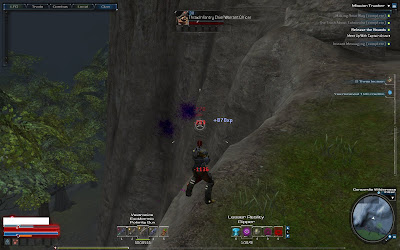
While removing these Bane we can see that one of them has been set on fire and a red skull is located over the Bane's head. This is a critical hit. Run up and hit F on the keyboard to execute a special animation kill for double experience points.
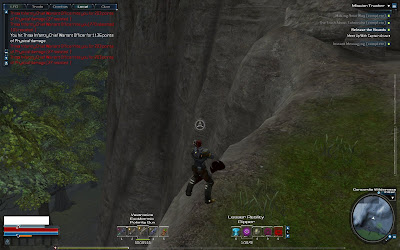
Okay, one Bane left. Lets go back over weapon condition. As mentioned in the Debt Penalty and Repair walkthrough hitting enemies with a non-melee weapon results in a 1% condition loss. So lets kill this Bane with melee attacks.
As we can see, Z's current weapon condition is 99%.
Okay, the Bane is dead, lets check our stats.
Our combat tab shows the damage results from the round of fisticuffs.
Then we find that the weapon condition has fallen to 84%.
Okay, lets see what the damage condition drop is like in a normal battle. Z has entered Guardian Prominence and repaired at the local vendor. With a condition of 100% Z will fight as far as she can until she dies, at which point we'll check weapon condition again.
Z has come across one of the modified Hunter enemy class. These guys now reflect damage. Something to keep in mind.
Another battle basic. When enemies have lootable items, you don't have to actually go up and click T in order to loot the corpse. Just walk over the corpse.
Okay, Z has finally died. Since the repair penalty for death has not yet been applied, we find that Z's Exothermic Polarity Gun has a condition of 93%.
The basic point is to keep equipment repaired. If entering a heavy combat zone it's probably a good idea to have extra equipment available in case the condition level drops too low and a vendor is not around.
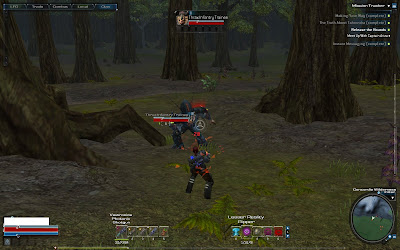
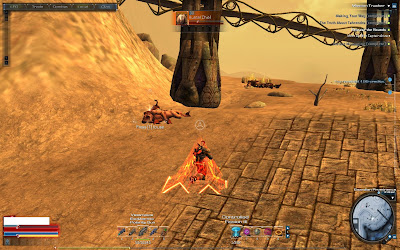
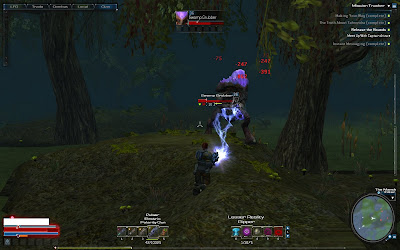
One of the final aspects of Weapon Management is to always have the right weapon for the job. As seen against this Swamp Grubber in the Marshes, the Exothermic Polarity Gun is useless.
The Electric Polarity Gun however... works quite fine.
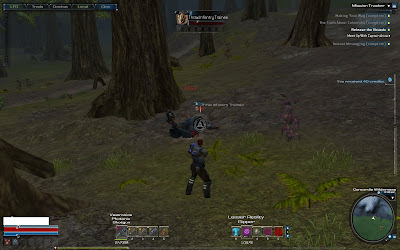
 Don't get too dependent on one weapon type. Those red spots on the radar around the Swamp Grubber were Mox's. They happen to be immune to the Electric Polarity Gun...
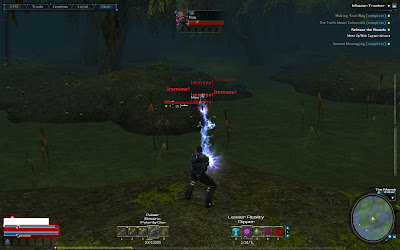
 However, roasted Mox on the end of the Exothermic Polarity Gun? It's considered a favorite treat.
 The final word of advice is to always have a wide selection of weapons and equipment available. The battlefield on Tabula Rasa can change rapidly, and many enemies with conflicting weakness's can often be found hanging around together, like the mox and swamp grubbers.


